September 27, 2026
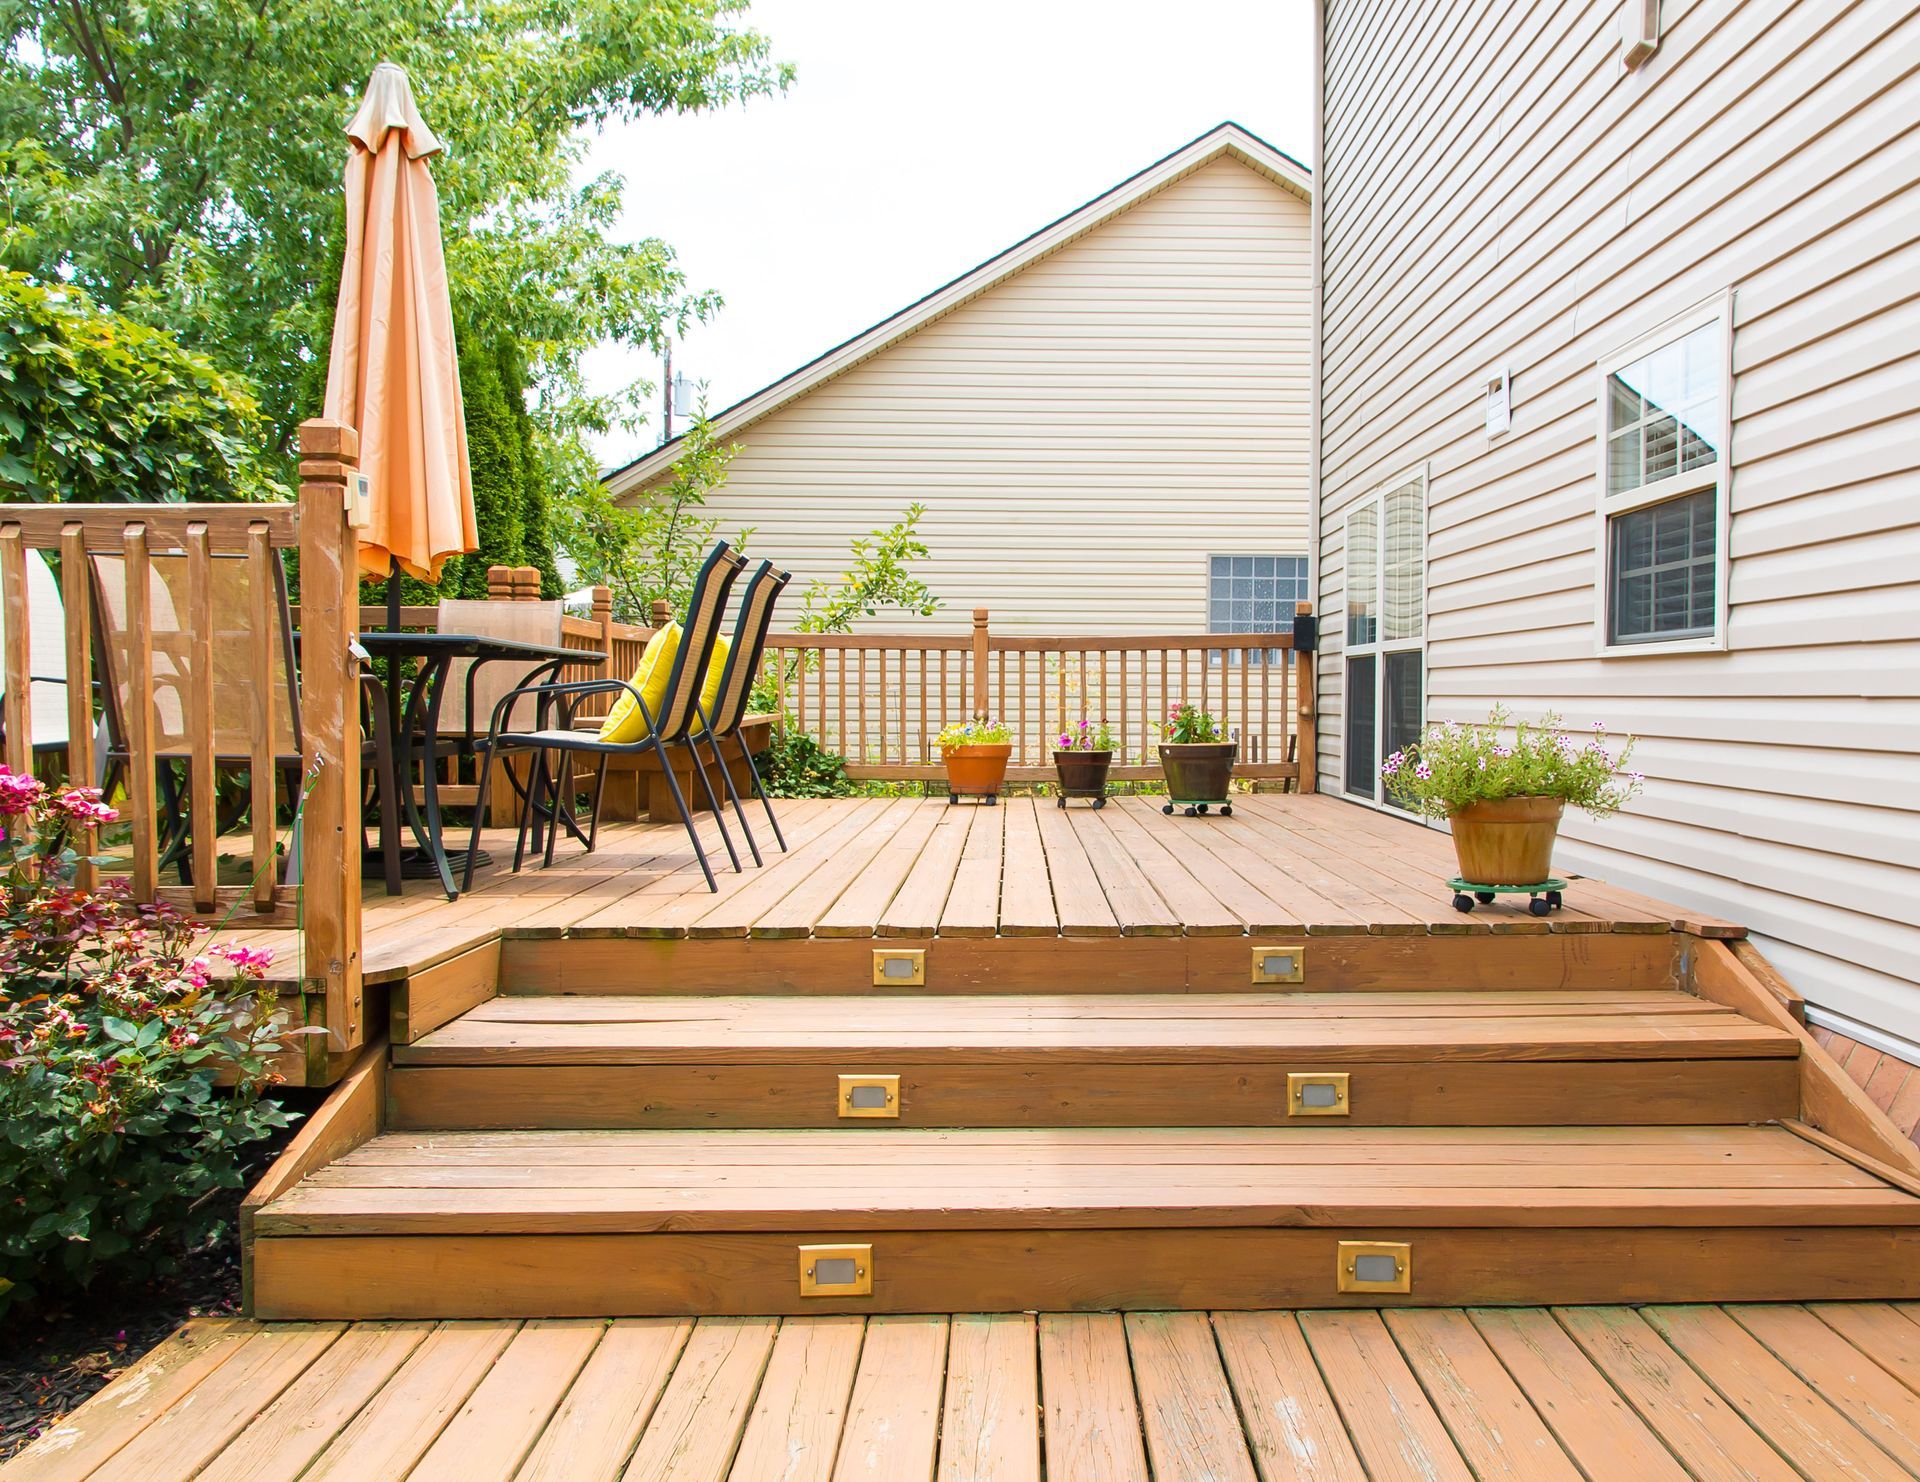
Elevated wooden decks can add usable outdoor space to homes built on slopes, raised foundations, or lots where a ground-level deck would not be practical. Because these structures sit several feet above grade, they require careful planning, strong structural support, secure connections, and attention to local building requirements. According to HomeGuide, an elevated deck is an attached wooden structure positioned at least three feet above ground level while remaining below the second story. Building this type of structure involves more than simply installing boards over a frame. A deck builder must consider the height, soil conditions, attachment points, load requirements, access, railing systems, and drainage before construction begins. Understanding the major stages of the process can help homeowners see how an elevated deck is designed and assembled from the ground up.
Planning the Deck Layout and Dimensions
The construction process typically begins with careful planning. The size, shape, and position of the deck need to fit the home while providing enough usable space for the homeowner's intended activities. Measurements are taken around doors, windows, exterior utilities, and other features that could affect the layout. The height of the finished deck is also determined so that the deck surface aligns properly with the home's entry point while maintaining safe clearance from the ground below.
A deck builder may also consider how the deck will connect with stairs, walkways, patios, or other outdoor features. Decisions about railing locations, stair placement, and traffic flow are often made during this stage because they affect the framing plan. Local setback requirements and building codes may influence the overall dimensions as well. Thorough planning helps reduce the chance that structural changes will be needed after work has already started and provides a clear guide for the rest of the construction process.
Preparing the Site and Footing Locations
Once the design is established, the construction area must be prepared. Vegetation, loose debris, and other obstacles may need to be removed from the locations where support posts will be installed. The ground is then measured and marked according to the framing plan. Because elevated decks rely heavily on their vertical supports, accurate placement of the footing locations is essential. Each support point needs to align with the beams and joists above so that the deck's weight is transferred properly to the ground.
A deck builder may dig or drill footing holes to the depth required by local codes and soil conditions. In regions where the ground freezes, footings may need to extend below the frost line to reduce movement caused by seasonal freezing and thawing. Concrete footings or approved foundation systems are then installed to create a stable base for the posts. Proper footing preparation helps prevent settling, shifting, and uneven movement that could affect the structure over time.
Installing the Ledger and Support Posts
Many elevated decks are attached directly to the house using a structural board known as a ledger. The ledger is secured to the home's framing and serves as one of the primary connection points for the deck. Installation must be handled carefully because improper attachment can allow water intrusion or create structural weakness. Flashing is typically installed around the ledger to help direct moisture away from the connection and protect both the home and the deck framing.
At the outer edge of the structure, vertical posts provide additional support. A deck builder positions these posts on the prepared footings and checks them carefully for proper alignment and plumb. Depending on the design, posts may be secured using metal bases, anchors, or other approved connectors. Correct placement at this stage is important because the beams, joists, and decking above will rely on these supports. Strong connections between the footings and posts create the foundation needed for the rest of the elevated structure.
Building the Beam and Joist Framework
After the posts are installed, horizontal beams are added to carry the weight of the deck framing. These beams may rest on top of the posts or connect to them using structural hardware, depending on the design. The beams must remain level and properly spaced because they support the joists that run across the deck. Structural fasteners and approved connectors are used to create secure joints capable of carrying expected loads.
A deck builder then installs joists at consistent intervals between the ledger and outer beam. Joist spacing depends on factors such as lumber dimensions, span lengths, and the type of decking material being used. Joist hangers or other approved hardware secure the framing where necessary. Blocking may also be installed between joists to reduce movement and help maintain alignment. Together, the beams and joists form the primary horizontal framework that supports the deck boards and distributes weight throughout the structure.
Adding the Decking Surface Carefully
Once the framing is complete and inspected for alignment, the decking boards can be installed. Boards are generally laid perpendicular to the joists so they are supported at regular intervals. Proper spacing between boards allows for drainage and natural expansion or contraction as moisture and temperature conditions change. Fasteners must also be positioned correctly to hold the boards securely without causing unnecessary splitting or damage to the wood.
A deck builder may begin installation along the house or another straight reference point and work outward to maintain consistent alignment. Boards may need to be trimmed around posts, corners, or other architectural features. Attention to spacing, fastener placement, and board direction helps create a cleaner finished appearance while maintaining practical drainage. The outer edges may then be trimmed or finished with fascia boards to create a more uniform appearance and conceal portions of the structural framing.
Constructing the Stairs and Railings
Because elevated decks are raised above the ground, safe access and fall protection are important parts of the construction process. Stairs are typically built using stringers that support individual treads. The rise and run of each step must remain consistent so that the staircase is comfortable and predictable to use. Landings may also be required depending on the height, direction, or total length of the stairway.
A deck builder also installs guardrails around exposed edges where required. Posts, rails, and balusters must be positioned and secured so the system can resist expected loads. Openings between balusters are generally limited by applicable building codes, particularly where children may be present. Handrails may also be required along stairs. Careful construction of these features helps complete the transition between the elevated platform and the surrounding property while supporting safer everyday use.
Completing the Final Inspection and Finishing Work
After the major components are installed, the entire structure should be reviewed carefully. Connections, fasteners, joist hangers, post bases, railings, stairs, and ledger attachments can all be checked for proper installation. The deck surface may also be examined for loose boards, uneven edges, protruding fasteners, or other finishing concerns. If permits were required, local building officials may inspect the structure before it is approved for use.
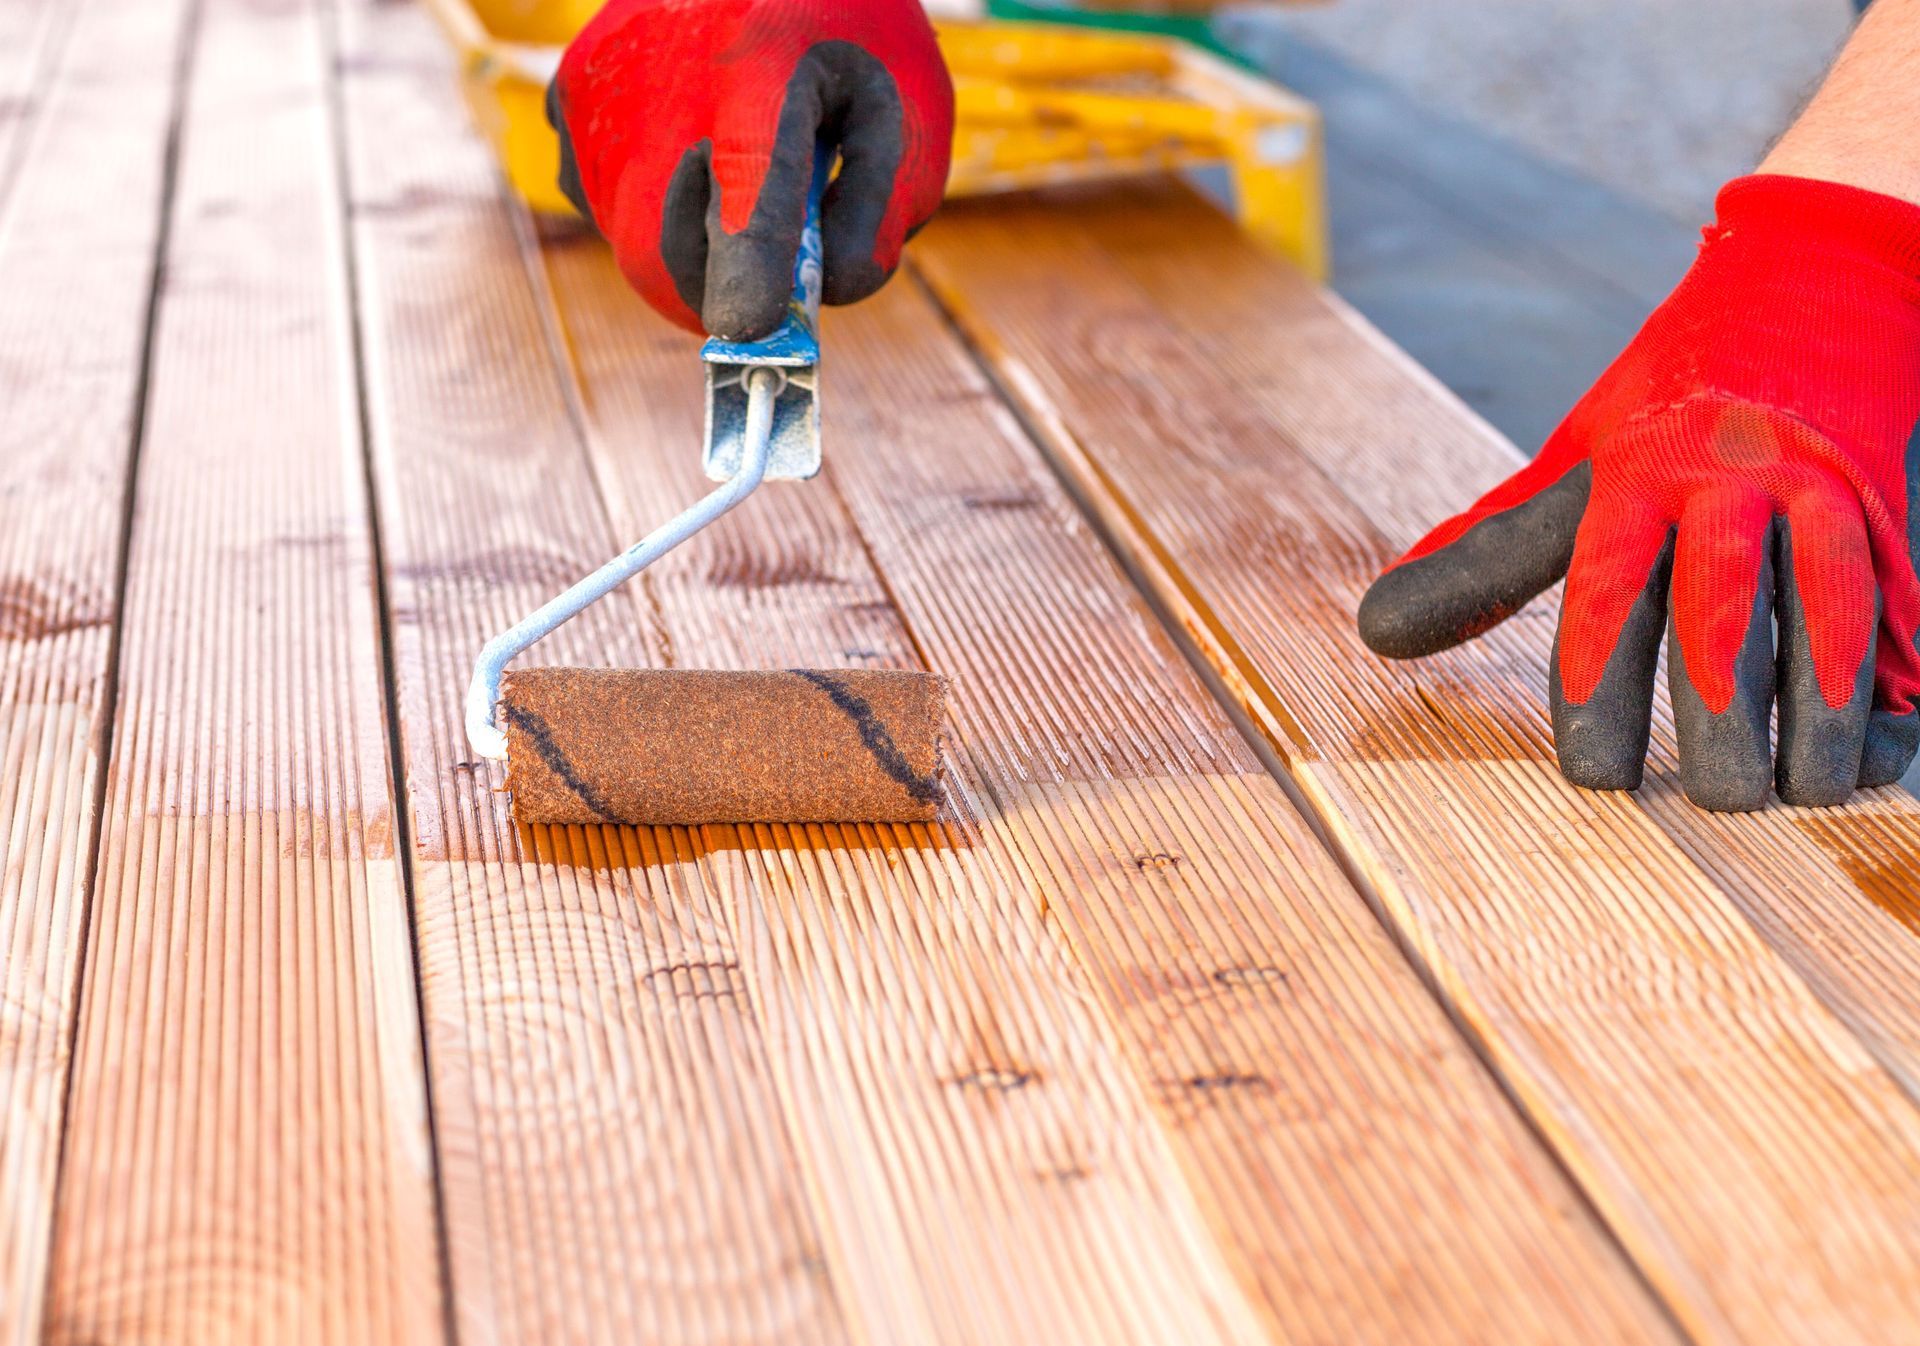
A deck builder may complete additional finishing work after the structural portion passes inspection. This can include installing fascia, trim, post caps, skirting, or other decorative features. Depending on the type of lumber used, homeowners may also choose to stain, seal, or otherwise protect the wood after an appropriate drying period. These finishing steps can improve appearance and help protect exposed surfaces from moisture and weather. Final cleanup removes scraps, packaging, and construction debris so the area is ready for use.
Constructing an elevated wooden deck requires careful coordination from the first measurements through final inspection. Planning the layout, preparing stable footings, installing posts and ledger connections, framing beams and joists, securing decking boards, and building safe stairs and railings all contribute to the finished structure. Because elevated decks depend on strong connections and properly supported framing, each stage needs to be completed accurately and in accordance with applicable requirements. Working with an experienced deck builder can help homeowners understand the construction process and ensure that important structural and finishing details receive proper attention. If you are considering adding an elevated wooden deck to your property, contact Kingsley Improvements.